We’re restoring a Losi XX CR Kinwald – Part I

Episode: 1
What can I do during lockdown?
Build a vintage RC Racing car….
14th December 2020 – So bored! The world has been socially distant and living under restrictions now since March. No racing, no new builds, no championships – I’m sooooo bored! There’s a ton of RC Racing junk in the garage, I think its time to sort and clear it out on ebay. A box of original early Losi XX spares, a box of Losi XXX spares and an Atomic Carbon CR2 all sitting there gathering dust. And there is something else sitting up at the highest point in the rafters of the garage – a 1998 Losi XX CR Kinwald in shabby condition. “Well, that’s cool”, I thought to myself – trying to remember where it had come from.

The car was an ebay purchase about 10 years ago which was purchased as I thought it was a piece of rare RC racing history. The car having been the commemorative model sold by Losi after Brian Kinwald’s 1997 World Championship victory. But as I was busy getting married and sorting out my house at the time, it sort of got put away as soon as it arrived in the post – not to re-emerge till now. I think the first thing to do is strip down the car and use the build manual to work out which original parts have been lost over the last 22 years.
Episode: 2
What needs to done first with this restoration?
Teardown the Losi XX Kinwald and see what’s what….
17th January 2021 – Teardown I managed to find an original manual in pdf format online. I’ve printed it out.
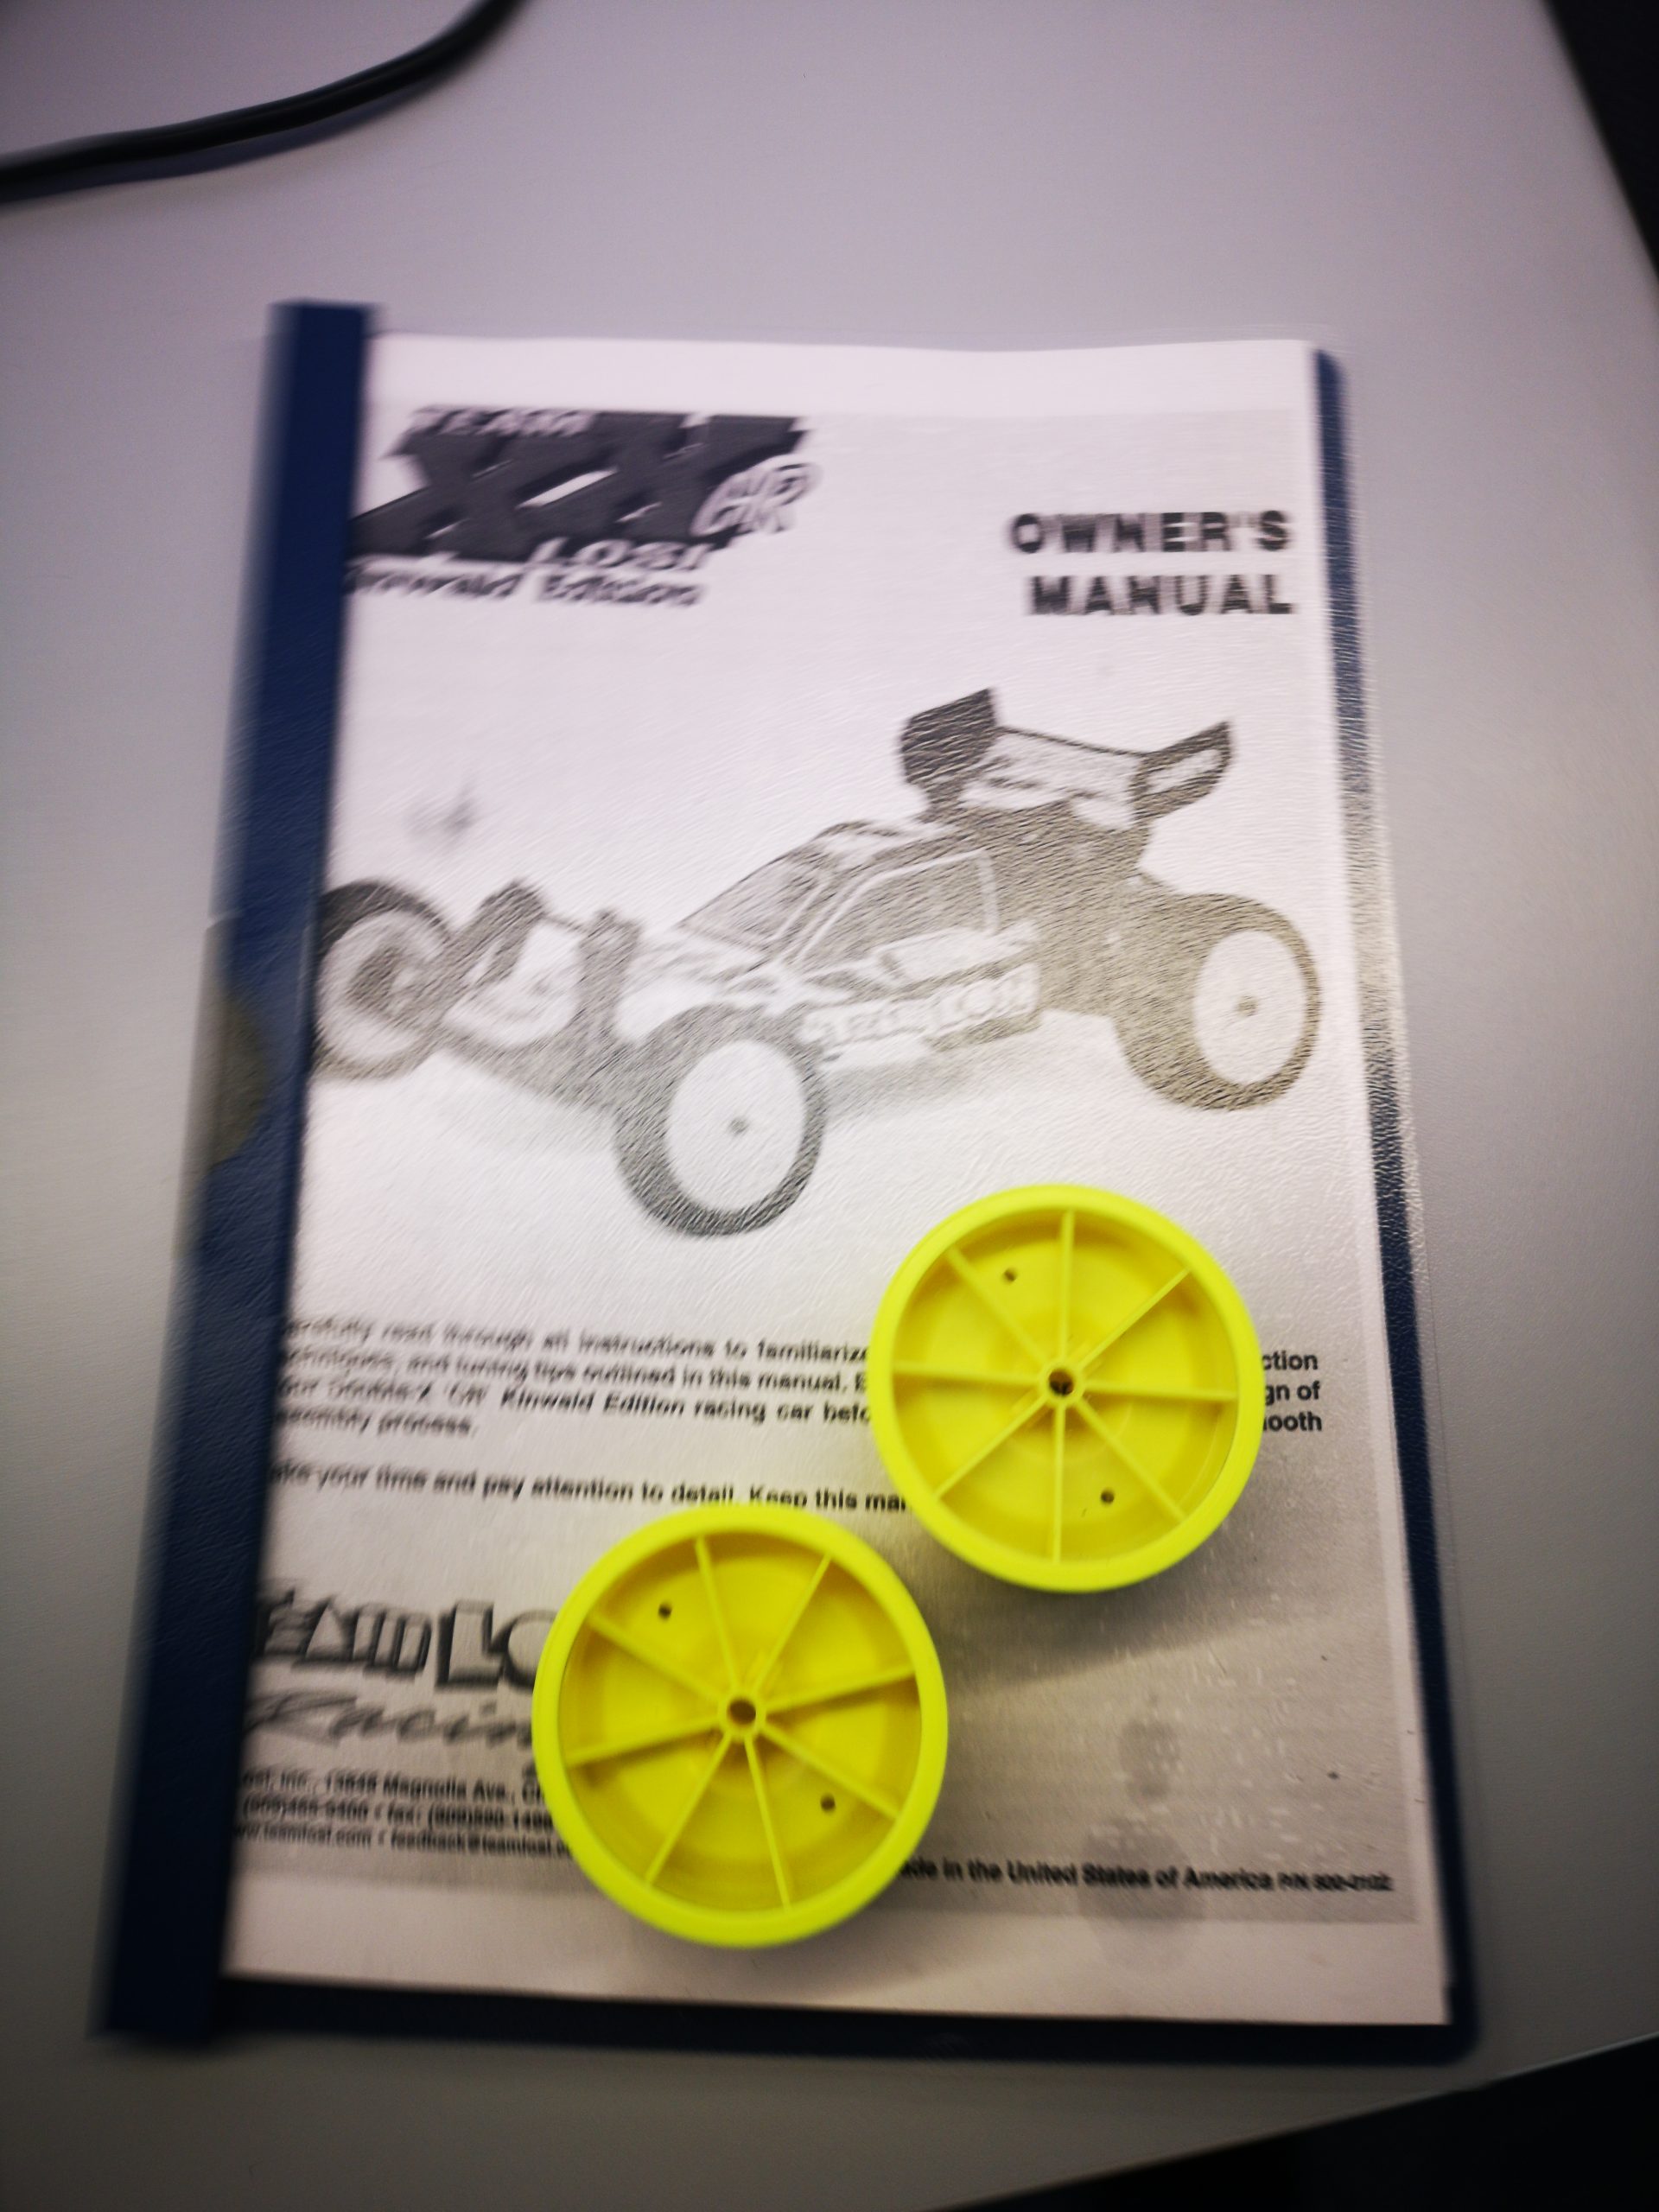
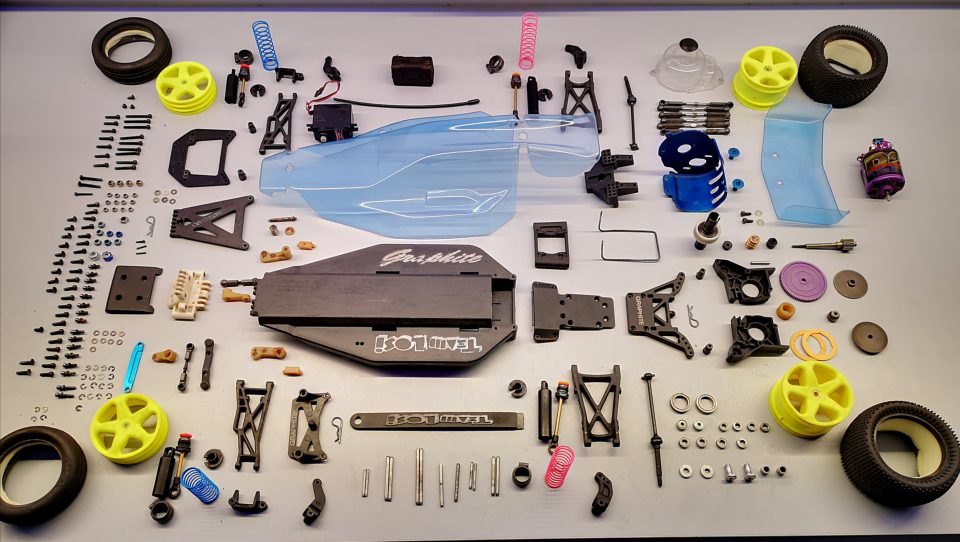
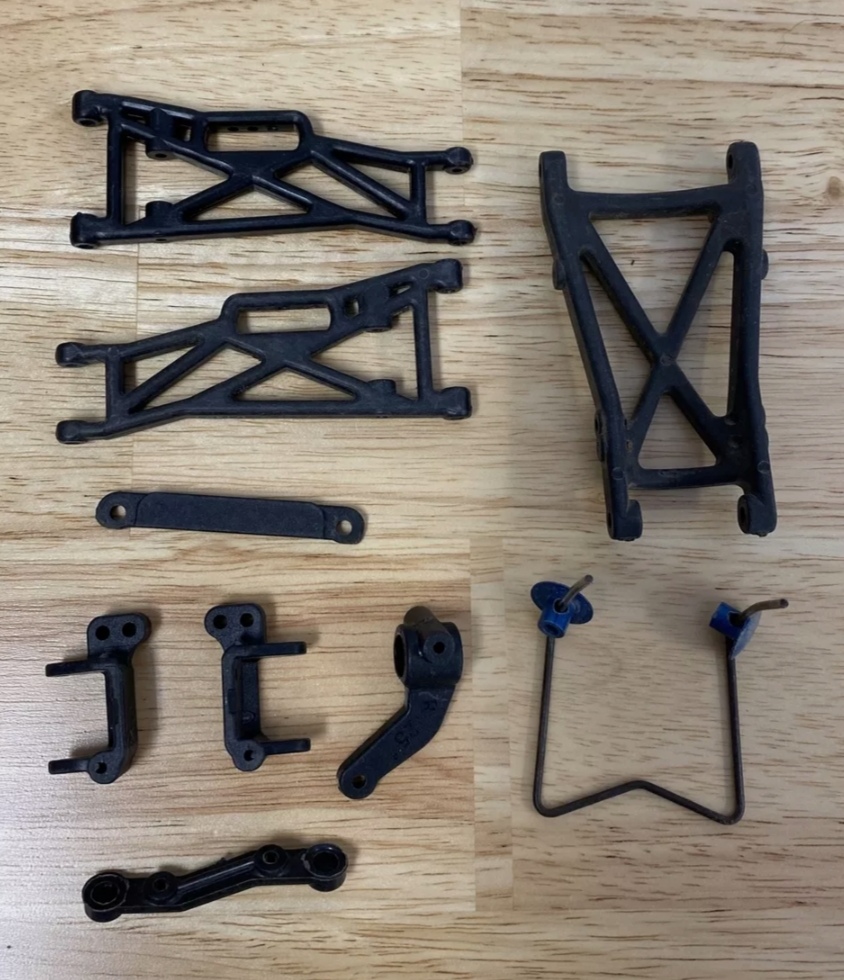
As I disassemble the car, I’m realising that many of the original kit parts have been swapped out for either lesser grade parts or spuriously manufactured parts. I laid everything out on the bench and went through the manual piece by piece.
I then had a fun idea! What about if I posted the photo of all the parts laid out to the Vintage Losi facebook group and see how long it takes for the members to identify the non-kit parts. Here’s the post, it took less than and hour to work out what was needed.
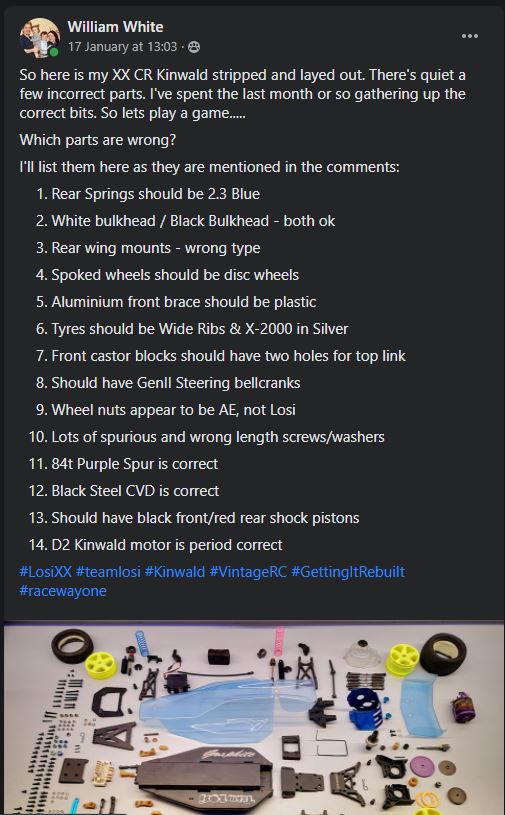
So there’s my shopping list.
But it’s not that simple as you can imagine. Some of the parts, especially the wing mount, rear blue springs (2.3 rate) and kit tyres are exceptionally difficult to come by. Also, some of parts although kit correct are in poor condition. The motor plate is badly scored, the screws and ball studs have either rusted or lost their black coating. So as well as hunting through the classifieds for parts, I also need to see how to repair those damaged parts. I’ll report back……
Episode: 3
Where do you find parts for a Losi XX Kinwald?
There are lots of parts in people’s garages and lofts, you just need to get them to have a look. Ebay is a great resource also…..
24th January 2021 – a bit of luck at last! If you search ebay for Losi XX CR Kinwald or even Losi XX, you will find much of the same stuff – worn out common parts, replica bodyshell, screw and bearing kits etc. A couple of the vintage enthusiasts in the United Kingdom had some of the items I needed – the blue rear springs, the disc wheels and a new spur gear, but this was all a waste of time if I could not get the Kinwald wing mounts.
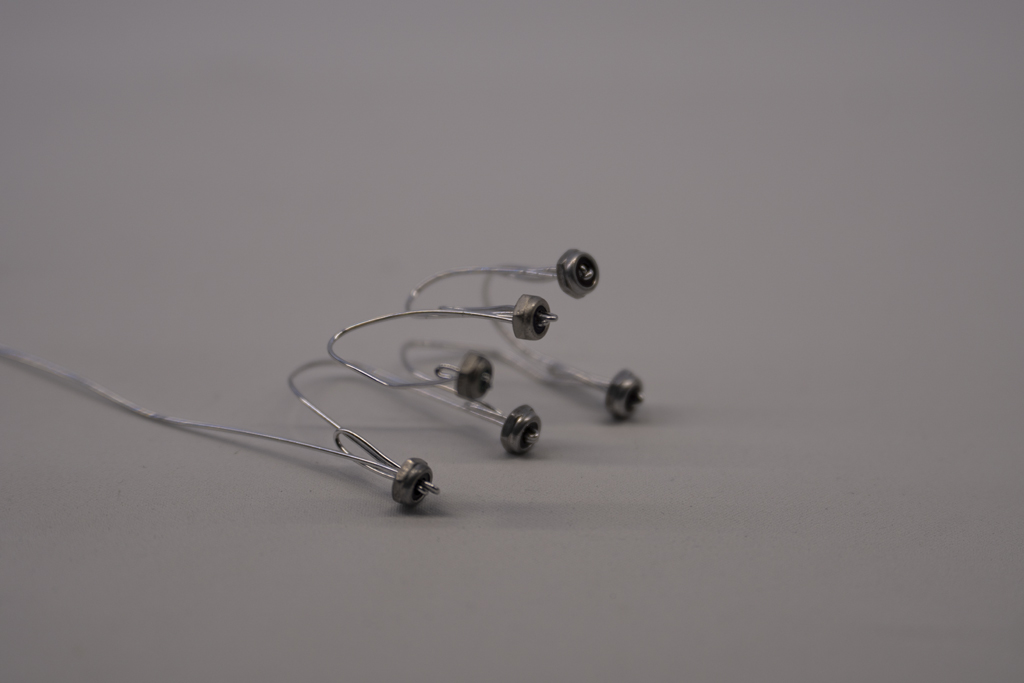
I happened to search on ebay for just “Losi” and then scanned down through the listings. There was one listing for “Losi parts lot”. I was a generally unattractive advertisment – I could just make out from the one photo (below) that there was one rear suspension arm, two mismatched front arms, a set of 25 degree front uprights and a plastic front brace -both of which I needed – and a wing wire with some hard to make out wing buttons on it. I could tell that the wing buttons were blue and with a dome shape on the upper surface.
I immediately screen grabbed the listing and sent it to FFRacing’s Freddie Russell, who is somewhat of a local expert. He confirmed that they were Kinwald wing buttons and I bought the listing – I could not believe my luck! So I hit the purchase button without delay.
The buttons have arrived here already and they are badly scratched and scored. I can see why they were removed from the original car – probably replaced with trinity items as was common at the time. I think I’m going to have to re-anodise these with the motor plate.
Episode: 4
Is the mailman going to get sick of me?
The mailman? maybe, but our Postman is a legend!
31st January 2021 – Much has happened in the last week. I’ve sourced the original kit tyres from Modeltune in Northern Ireland, along with various other small parts. I have a set of new grey ball ends for the tie rods from Fox pit stop, and the a GENII steering set and various other bits are coming from the USA.
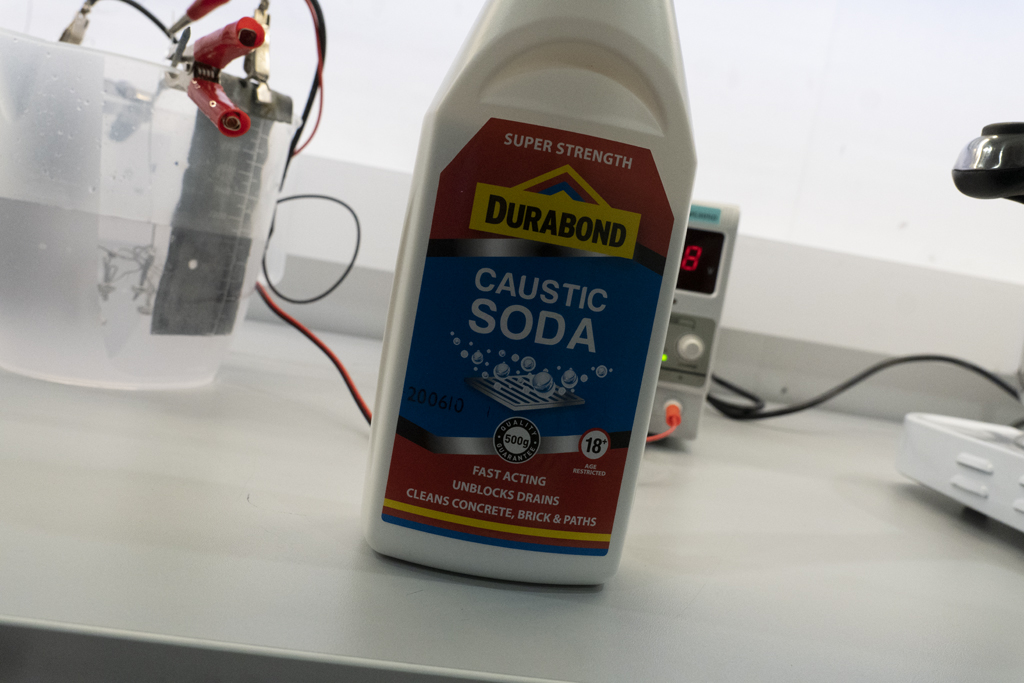
However the key bit of news this week is that I have bought all of the equipment necessary to re-anodise the motor plate, wheel and shock top nuts, and the wing buttons. A 30v constant current power supply, caustic soda, sulphuric acid, blue dye and lots of de-ionised water only cost me €60 ($75) and the other bits like lead flashing and suitable tubs, I already had.
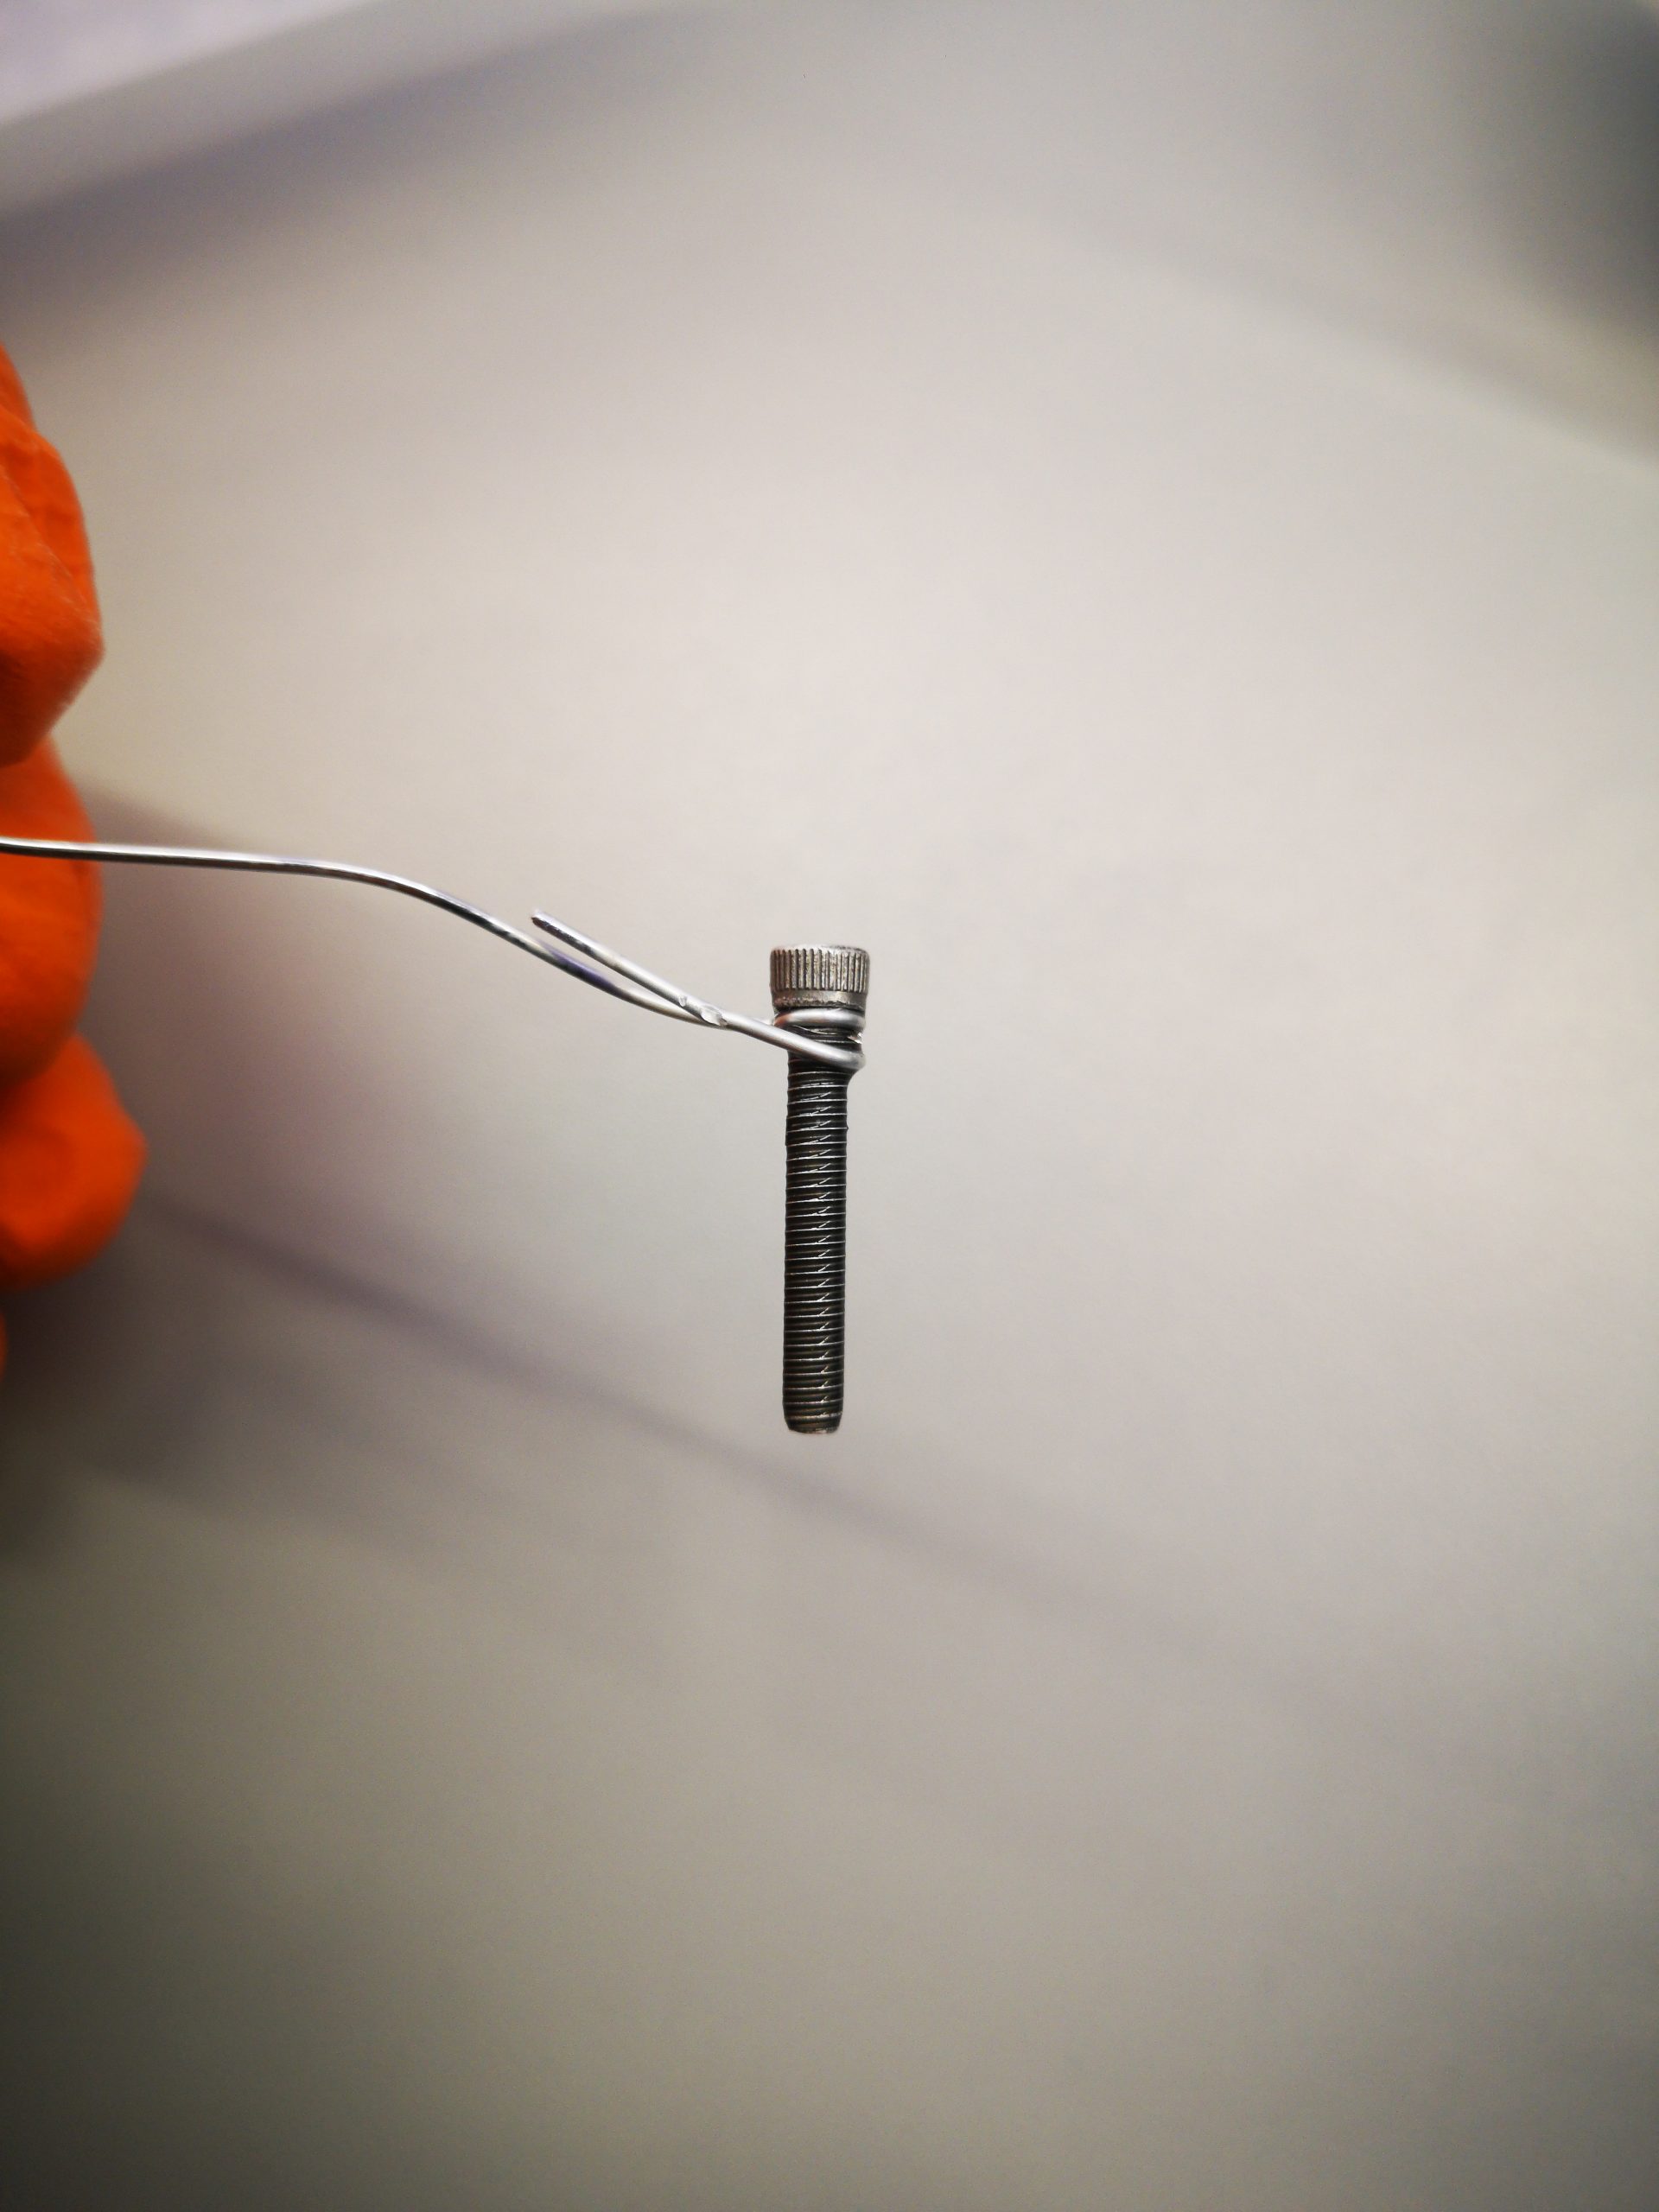
I conducted my first anodising “experiment” and it came out pretty well. I took a screw which had been previously anodised, but was patchy and damaged. The caustic solution took it back down to bare aluminium.
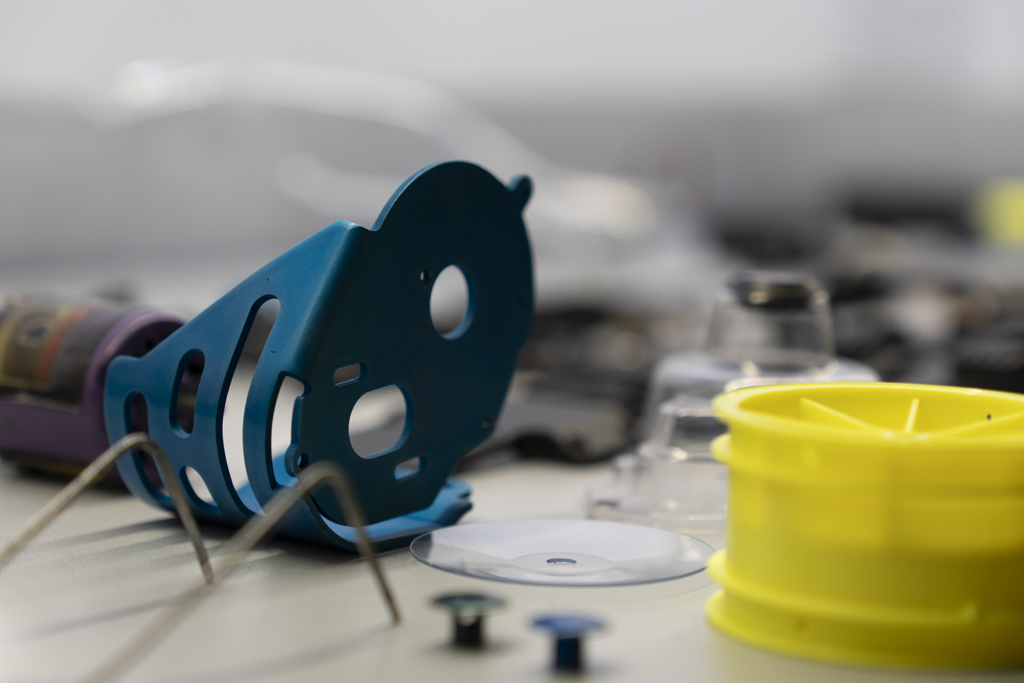
And then anodised and coloured…..
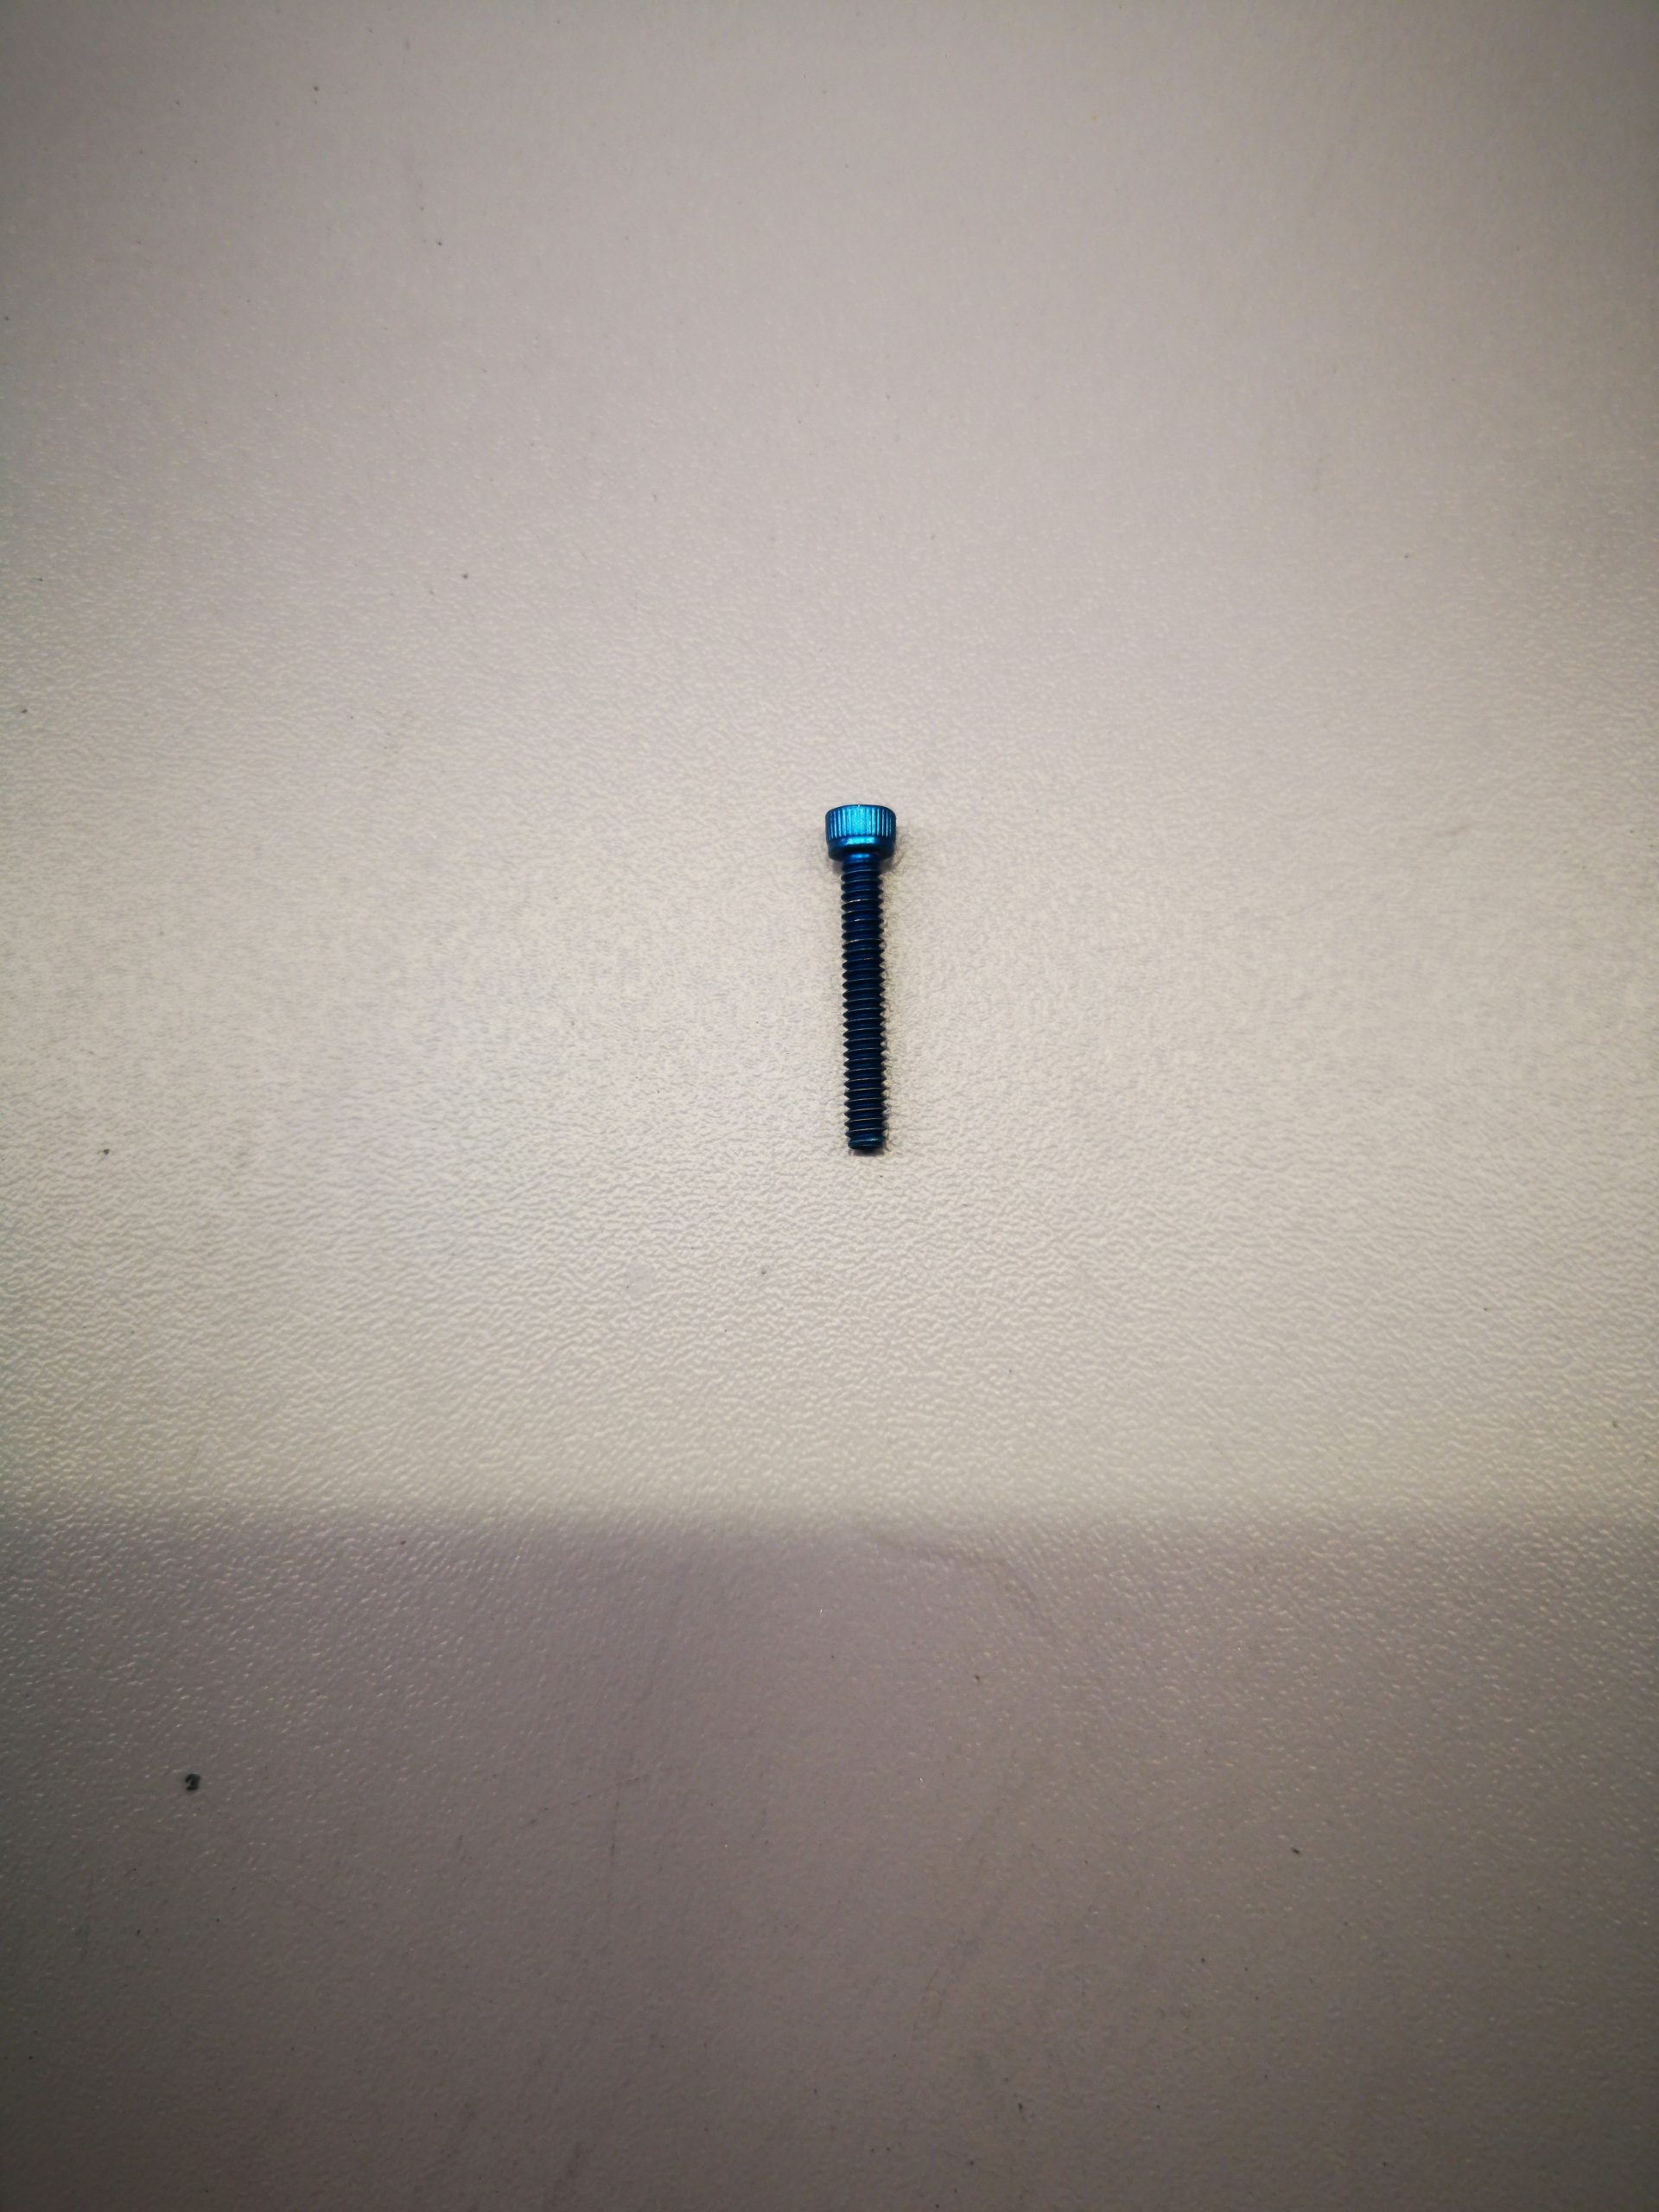
I’m happy with the result, but will practice a bit more before taking on the motor plate, which has to be 100% flawless.
Episode: 5
Can you re-anodize RC parts?
Yes you can. Its the same process as anodizing for the first time, just that the part spends more time on the caustic/lye solution….
7th February 2021 – more anodizing! Only a short update this week as I’ve been busy with other things whilst waiting for parts to arrive in the post. Hopefully everything will arrive this week. In the meantime, I’ve been anodizing everything in site. The “experiment” screws are now matching the original Kinwald motor plate very well and I’m becoming very confident. This week I will strip the anodizing off the motor plate and start sanding down the damage.
Episode: 6
Can you anodize at home?
With a few locally bought supplies, yes you can….
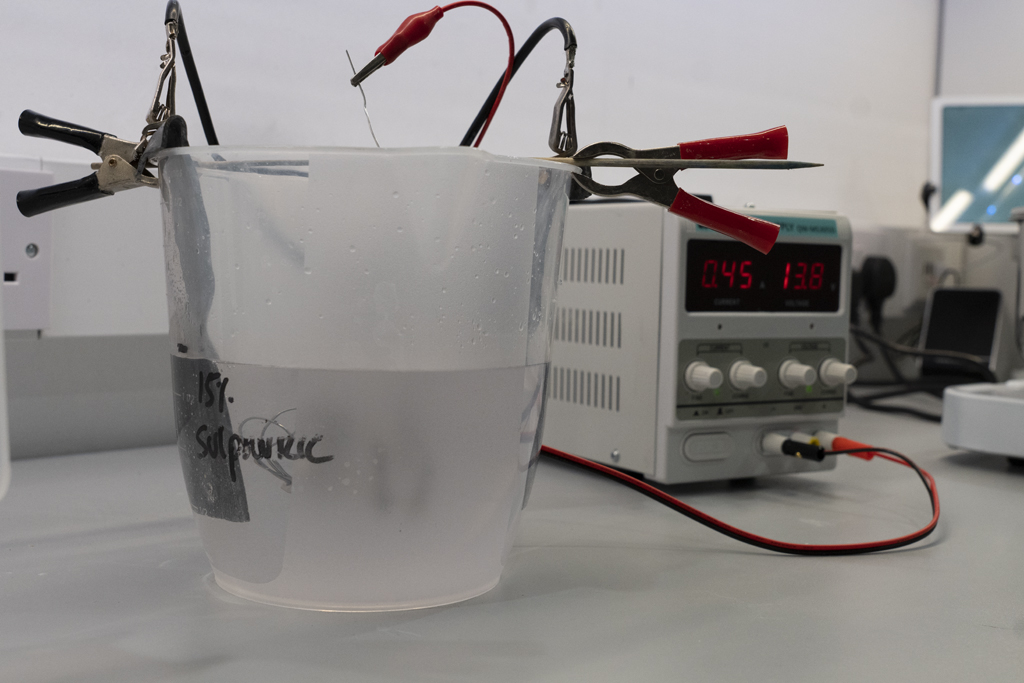
13th January 2021: Essentially, the anodizing process involves constructing a basic battery cell where the anode is the aluminium piece you want the hard case & colour.
The shopping list:
- De-ionised water – this is 12v battery top-up water. You will get in Halfords [UK/IRL] or good Auto Spares Retailers. Anodizing something the size of a motor plate will need a couple of litres. Buy 2 x gallons so you are not short.
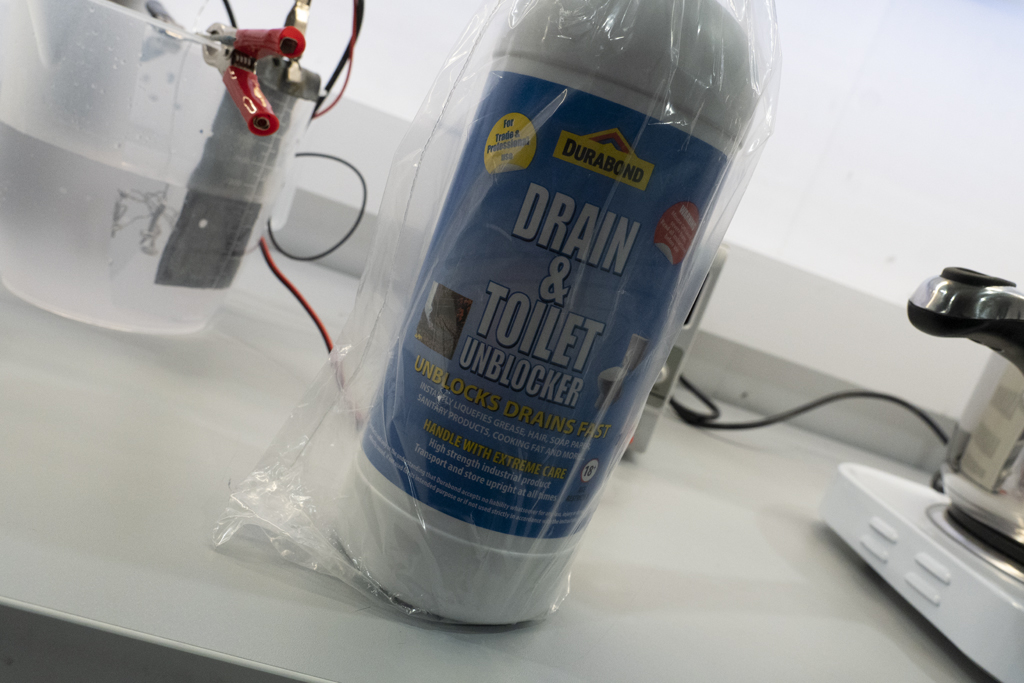
- 15% Sulphuric acid solution – you can either buy battery acid (37%) and dilute it 1:1 with the de-ionised water, or you can buy an acid based drain cleaner which is 97% Sulphuric acid and dilute it 7:1. SERIOUS SAFETY WARNING: This is dangerous stuff! Don’t get it on your skin, your work top, your clothes, or in your eyes or respitory system. Chemical resistant gloves, eye protection, old clothes and neutraliser (as per below) should all be used. ALWAYS add the Acid to the water and NEVER the water to the Acid.
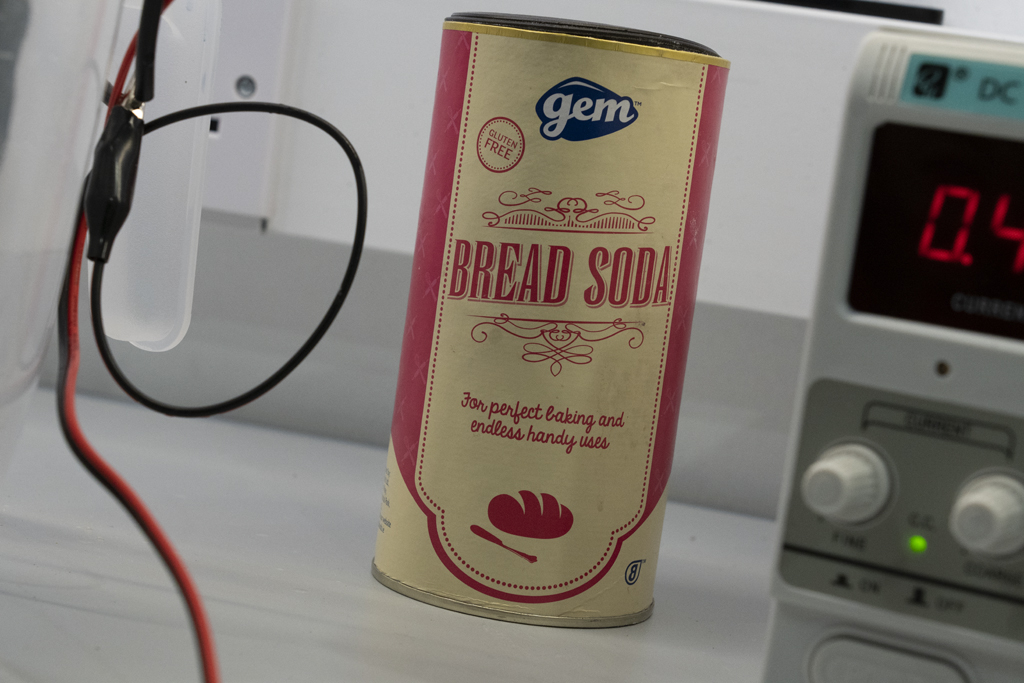
- Bicarbonate of Soda: This is just regular bread soda. Mix it up 5% by weight with the de-ionised water – so 50g per 950ml. This is used to neutralize the acid solution – hopefully just used on the parts and not on yourself!
- 2% Caustic Solution – you can get Caustic Soda in B&Q or Home Depot. Mix 20g with 980ml of de-ionised water. This is an exothermic chemical reaction so the solution temperature will rise as you add the soda. So add it gradually, keeping an eye on the temperature as you go – stirring the whole time. Avoid a temperature rise of more than 10 degrees.
- Suitable Polypropylene or Polyethylene tubs/jugs and storage containers. Remember that your hanging a part on a wire which can swing around a bit as your attaching the electric connection. Get a big enough container so that there is no chance of the part touching the lead, causing a short – which means you will have to start from scratch again.
- A 30v constant current power supply. A cheap one is fine as you only need 15v and up to 2 amps. I got mine on ebay for €35.
- Lead plates – you need two of 2″ x 8″ strips of lead roof flashing or if you are a handy type you can strip some plates out of an old 12v battery.
- Anodizing dye – you can buy all sorts of cheap dye options, but nothing beats genuine anodizing dye. 20g will keep you going for months/years.
- Aluminium or titanium wire. 0.8mm to 1.2mm diameter will be fine. You will get Aluminium wire in a arts/craft supply shop. Titanium wire from ebay or amazon. Or you can buy aluminium welding wire which has 5% magnesium. This is cheap! about €20 for 50 metres. The magnesium stops the wire corroding. So you will need to sand the electric contact points.
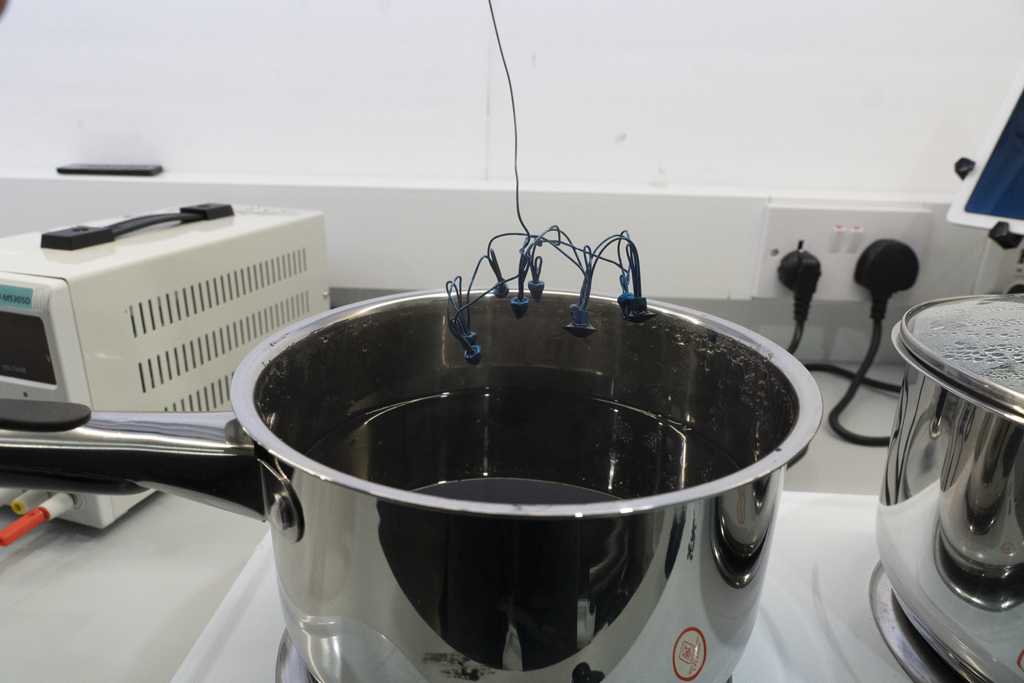
- This one is optional. To stop dangerous chemicals and dyes being dragged from the garage into the kitchen, I bought a 2 hob electric hot plate and two stainless steel pots. One for heating the dye and the other for boiling the sealing water.

There are loads of good videos on Youtube showing you how to anodize. I’m not going to go through it as they’ve done a great job.
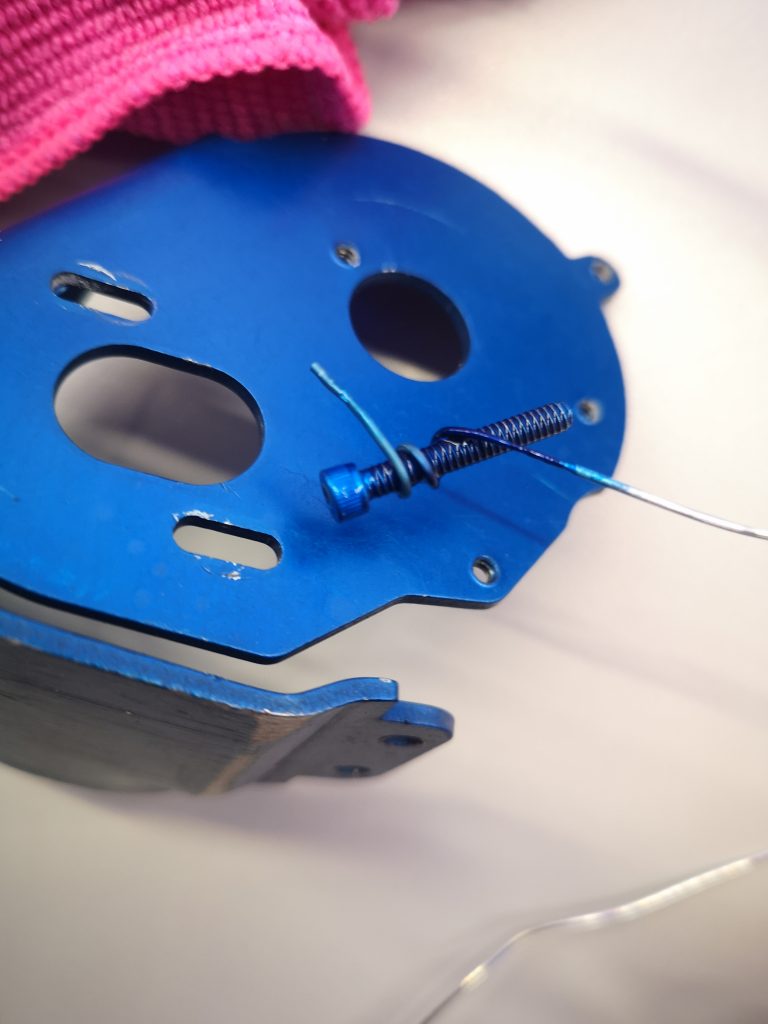
Here’s the XX motor plate – cleaned, sanded and after spending 20 minutes in the caustic solution.
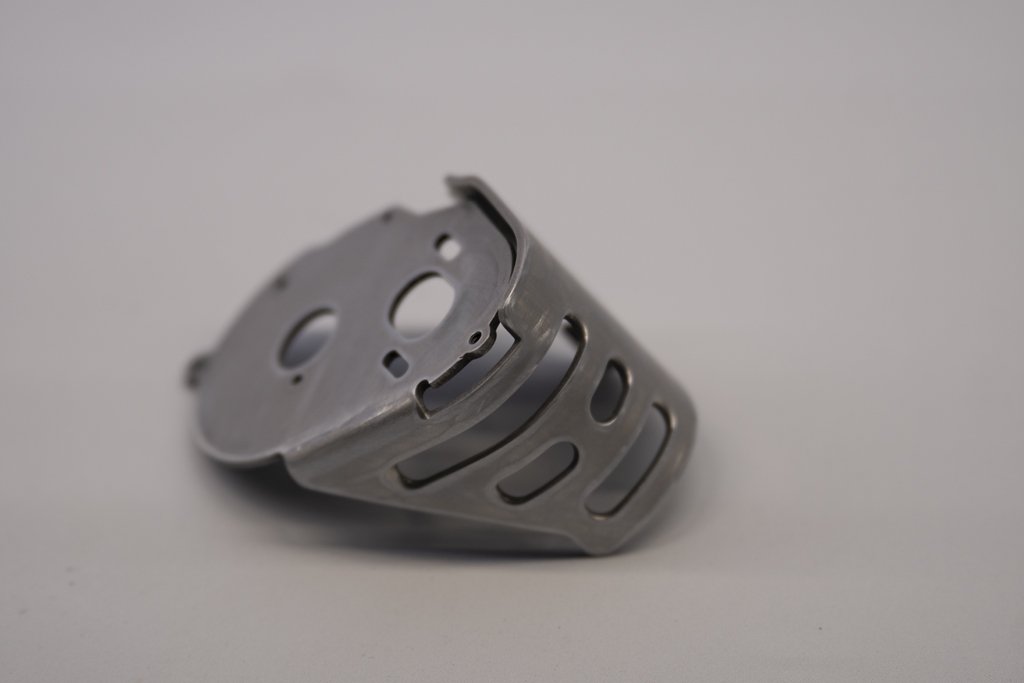
After two hours at 0.5A and 15v it was hard anodized.
This blog post is becoming annoyingly long, so I’m breaking it up. This will be part I – more to follow, thanks for reading!